
Long awaited and it is finally here and I was able to get my hands on it for some testing, “Nile Trust Service and Nile Cloud RADIUS“. This post is going to be all about Nile Cloud RADIUS, I will get into the Nile Trust Service in another post because there is a bunch there.
There are a whole lot of RADIUS servers out there, some are cloud based, some are on-prem and each one offers different use cases, options and licensing. It can be a daunting task to implement operationally and financially. And more granular control you want, more your level of effort climbs up to implement such granular controls. I will get back into the granular controls in my next post or possibly a video, but let’s start with RADIUS.
How fast I can learn it and deploy it ?
If I want to deploy a RADIUS server for wired and wireless clients using EAP-TLS with different policies but I want it done in minutes and not days what do I do? Let’s see how I do this using Nile Cloud RADIUS.
Products used:
- XCA
- Macbook Air
- Macbook Pro
- iPad
- iPhone
- Nile Cloud RADIUS
Creating CA and generating certs:
I do not have a PKI so I am going to use XCA that I have used in the past for the certificates. Step 1 would be to create all the required certs.

In the past I have used Apple configurator to create profiles, but I was having trouble importing the .pfx file this time around. I kept getting this error, after troubleshooting it for a bit and some research on Google and chatGPT I learned that this is because XCA encrypts using 256AES and Apple configurator can only support AES128. I was not able to find a way to download the exported certificate encryption. So if you figure it out, let me know.
To get around this, I manually installed the certificates on my Mac. I will later try to see if I can use or another MDM solution.

Nile Cloud RADIUS Configuration:
Next step is to configure the Nile Cloud RADIUS in the Nile Control Center. Nile Cloud RADIUS can be configured by going to “Network Setup” and then Authentication

Connecting Clients:
I installed the cert for the Employees and tested my client. I can see the user and the network this is connected to.

Here is a quick pcap showing the successful connection.

Looking at the Advanced logs under the client, there are two logs showing. One is orange and one is green.
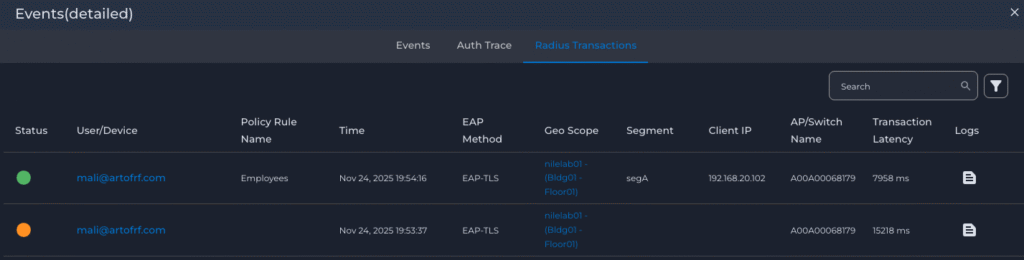
I had an issue with typing my password when keychain access asked for it, in the first attempt RADIUS attributes were not sent and pcap shows the same.
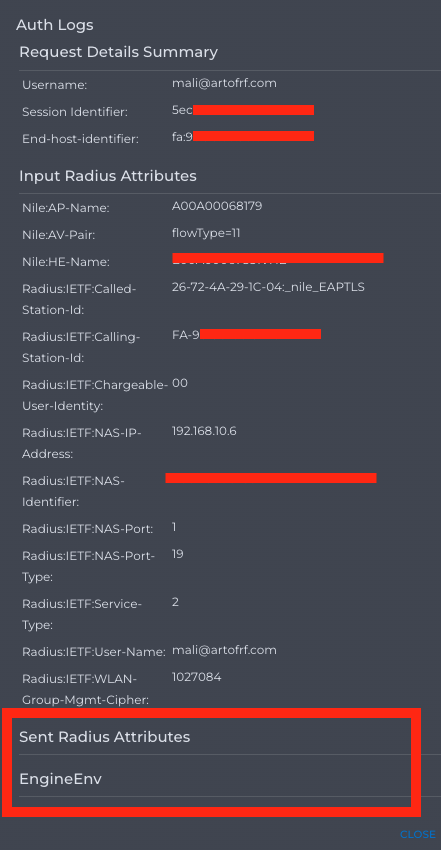
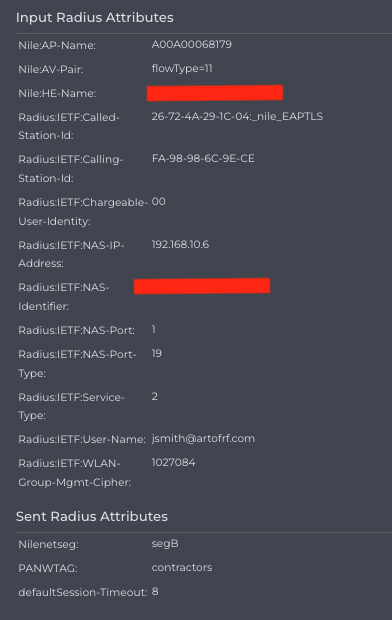
Here is the log after I retyped my password for the keychain access and certs were imported correctly. This screen shot shows the RADIUS attributes.
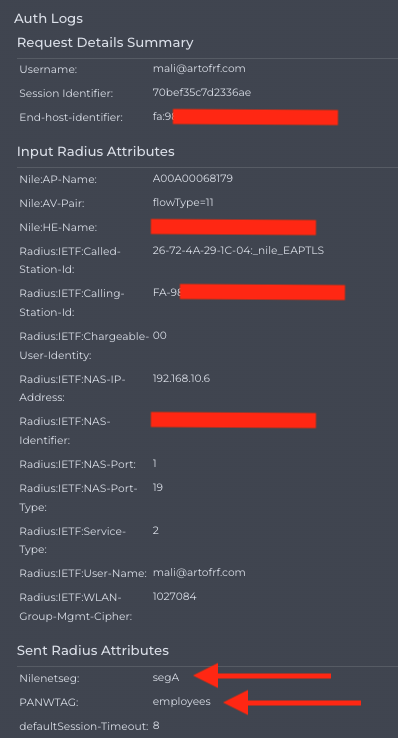
And now I have all the information on the cert.
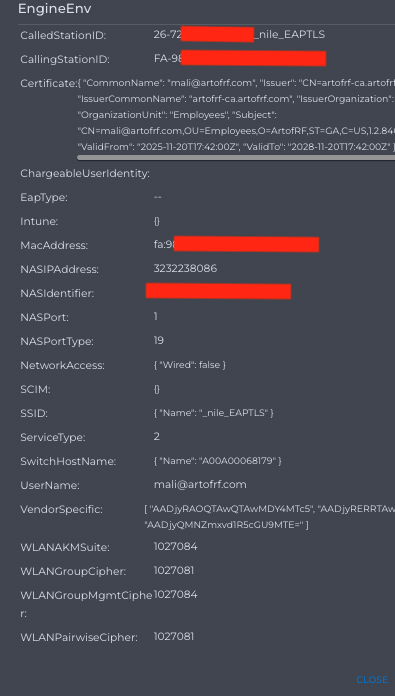
If I want to take a look at my own connection as a user, I can point my browser to my.nilesecure.com and it will show me all the information about my connection. Including the username and network I am connected to.
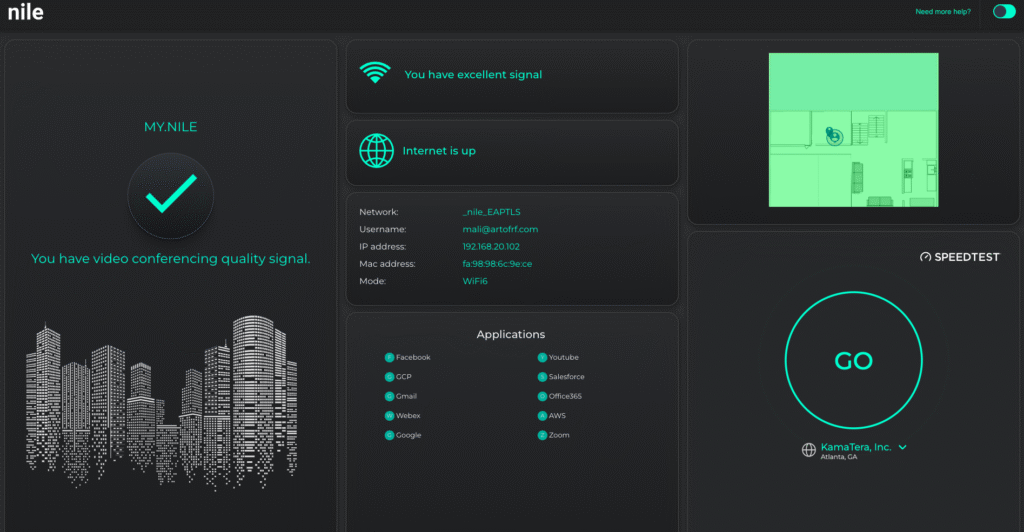
Next I will use the certificate of other user who is supposed to be a contractor. This time it is a contractor connecting and they are automatically being placed in segB that we defined in the policy.
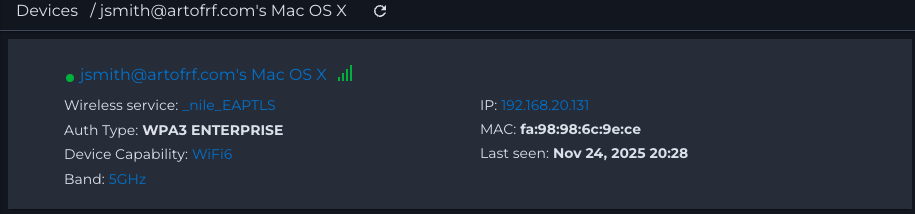
I didn’t have an issue with the password this time so there is only one log showing a successful connection.

Client information from my.nilesecure.com webpage.

Summary:
With many vendors offering Cloud based RADIUS products, I was looking forward to Nile Cloud RADIUS to become available and test it out. Nile has done an amazing job and simplified the configuration and deployment which is the main DNA/philosophy Nile goes by. No complicated licensing, no on-prem appliances or VMs to install, deploy, manage and monitor. There is no need to worry about code upgrades because Nile will handle that part since this is a Cloud based service.
Wish list:
- Adding PKI capabilities.
What about micro-segmentation, policies, device validation etc? Wait until my next post on Nile Trust Service. In the mean time read up on Wired 802.1X using Nile RADIUS